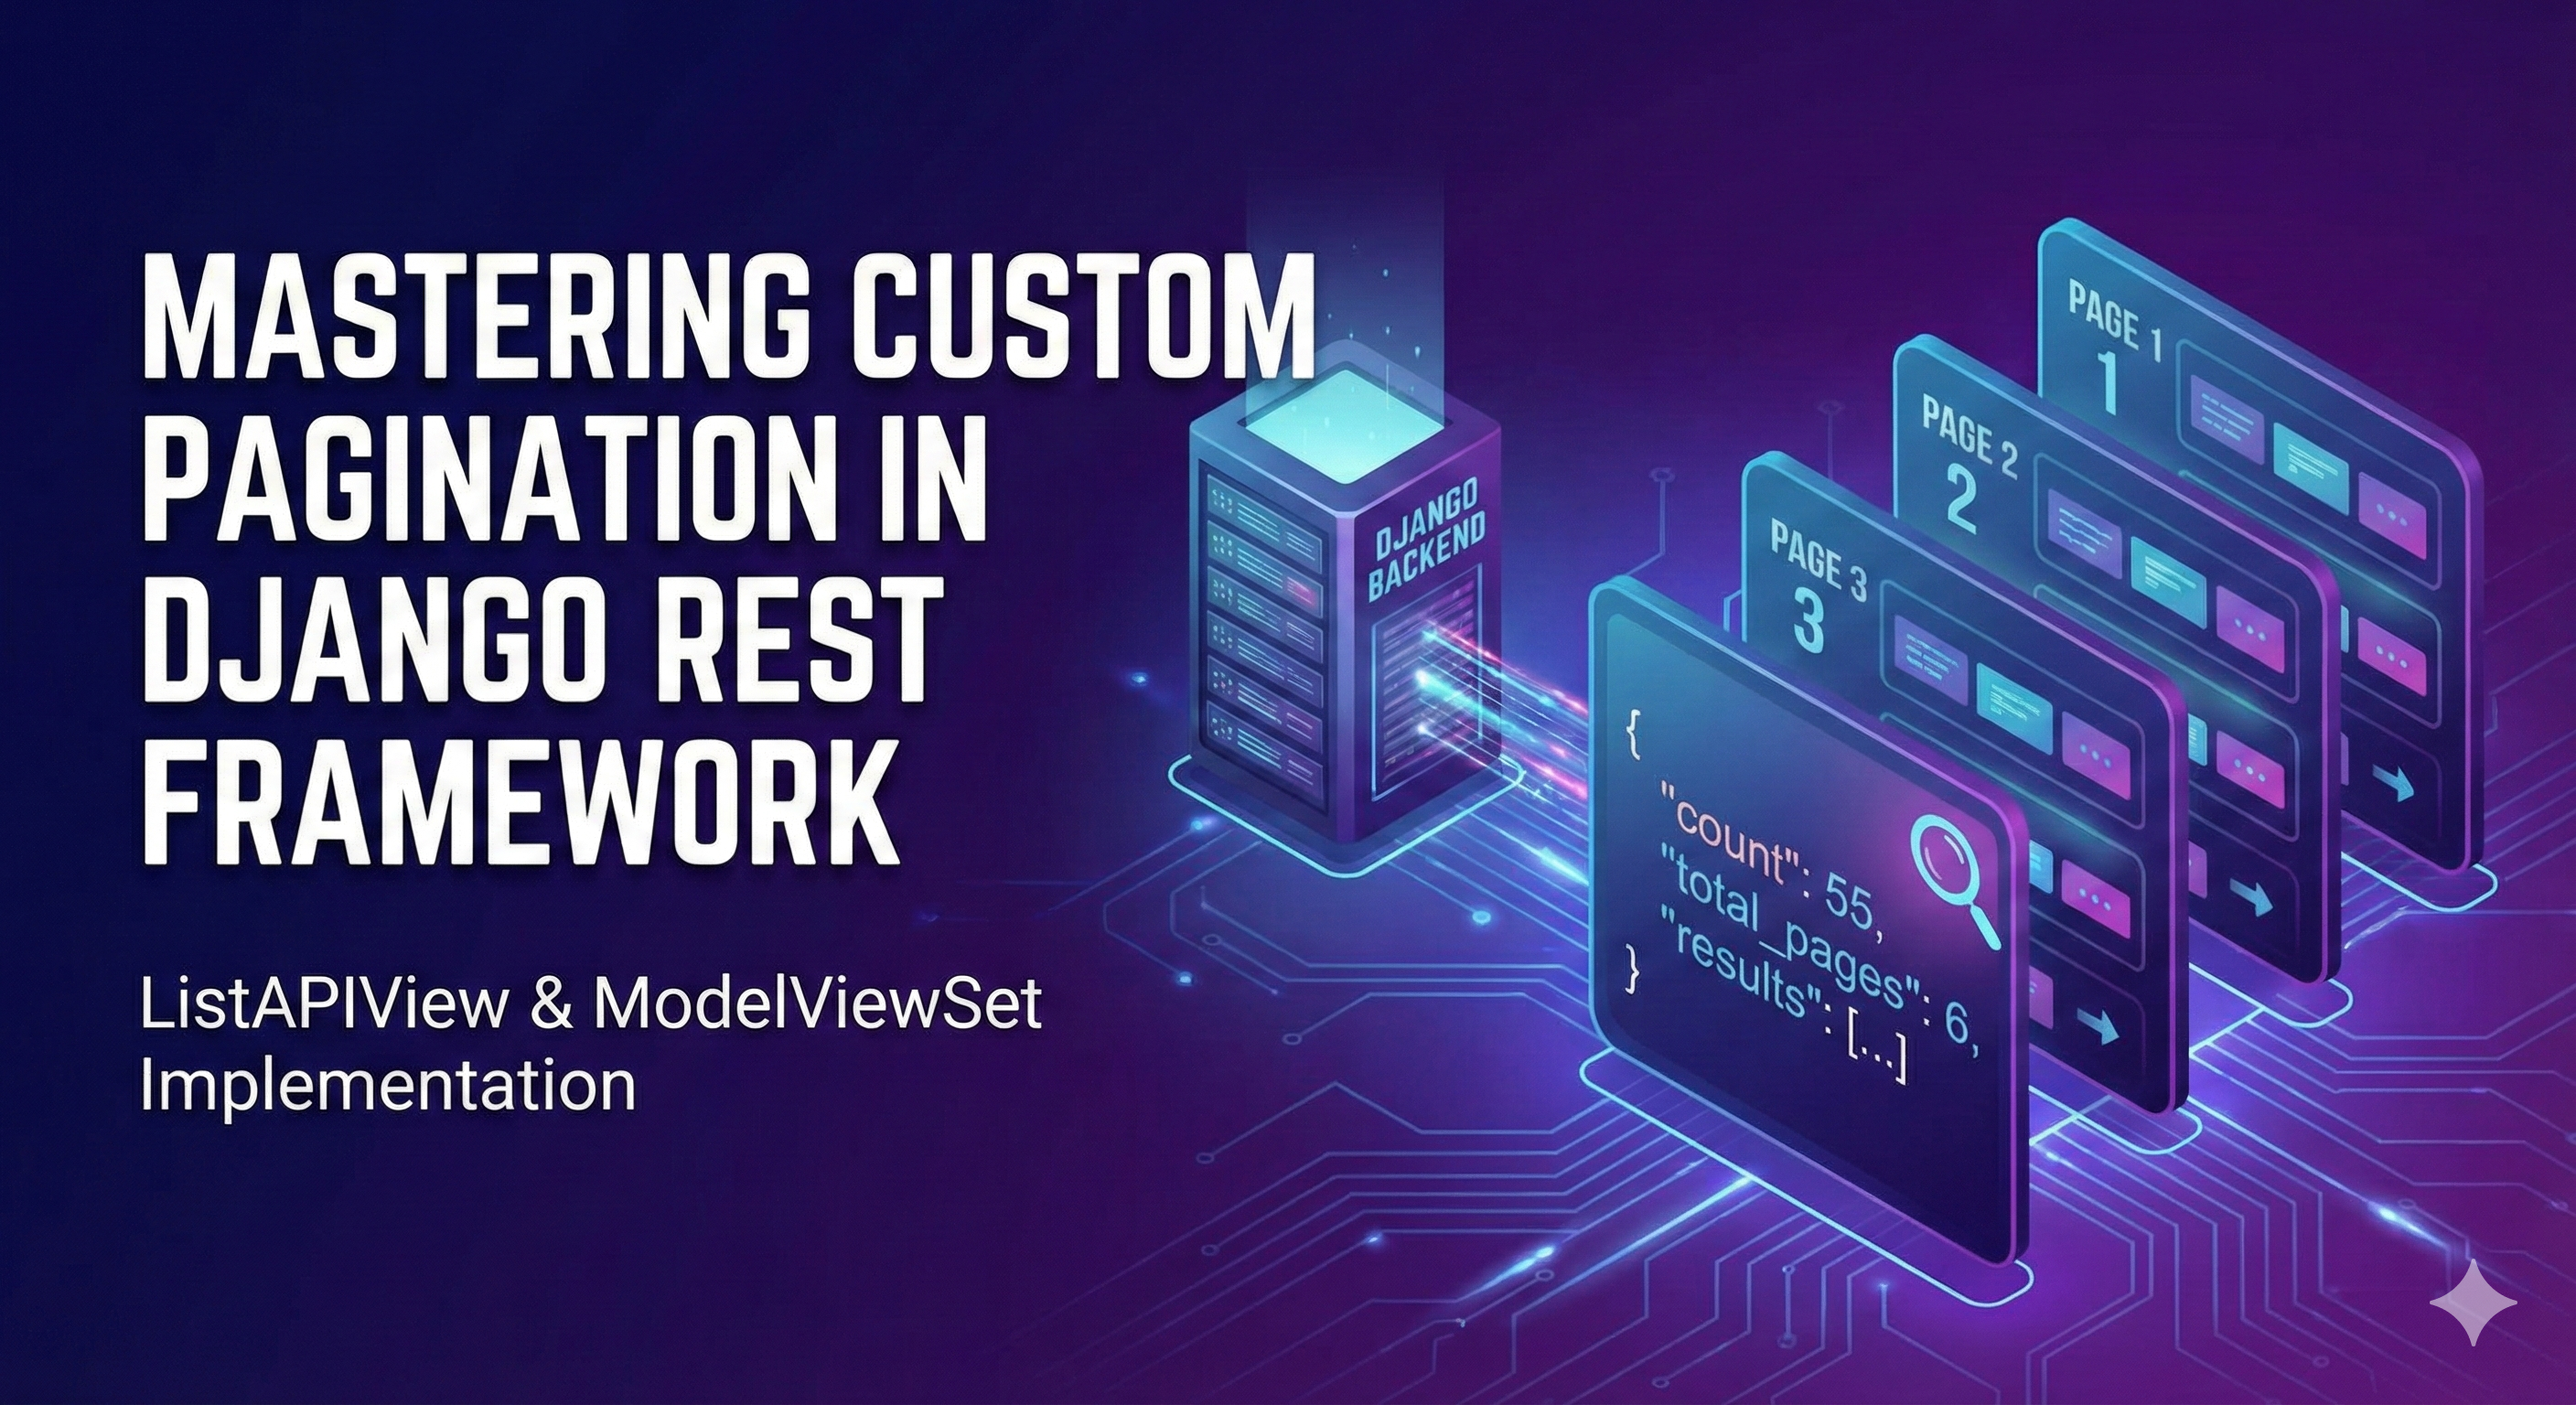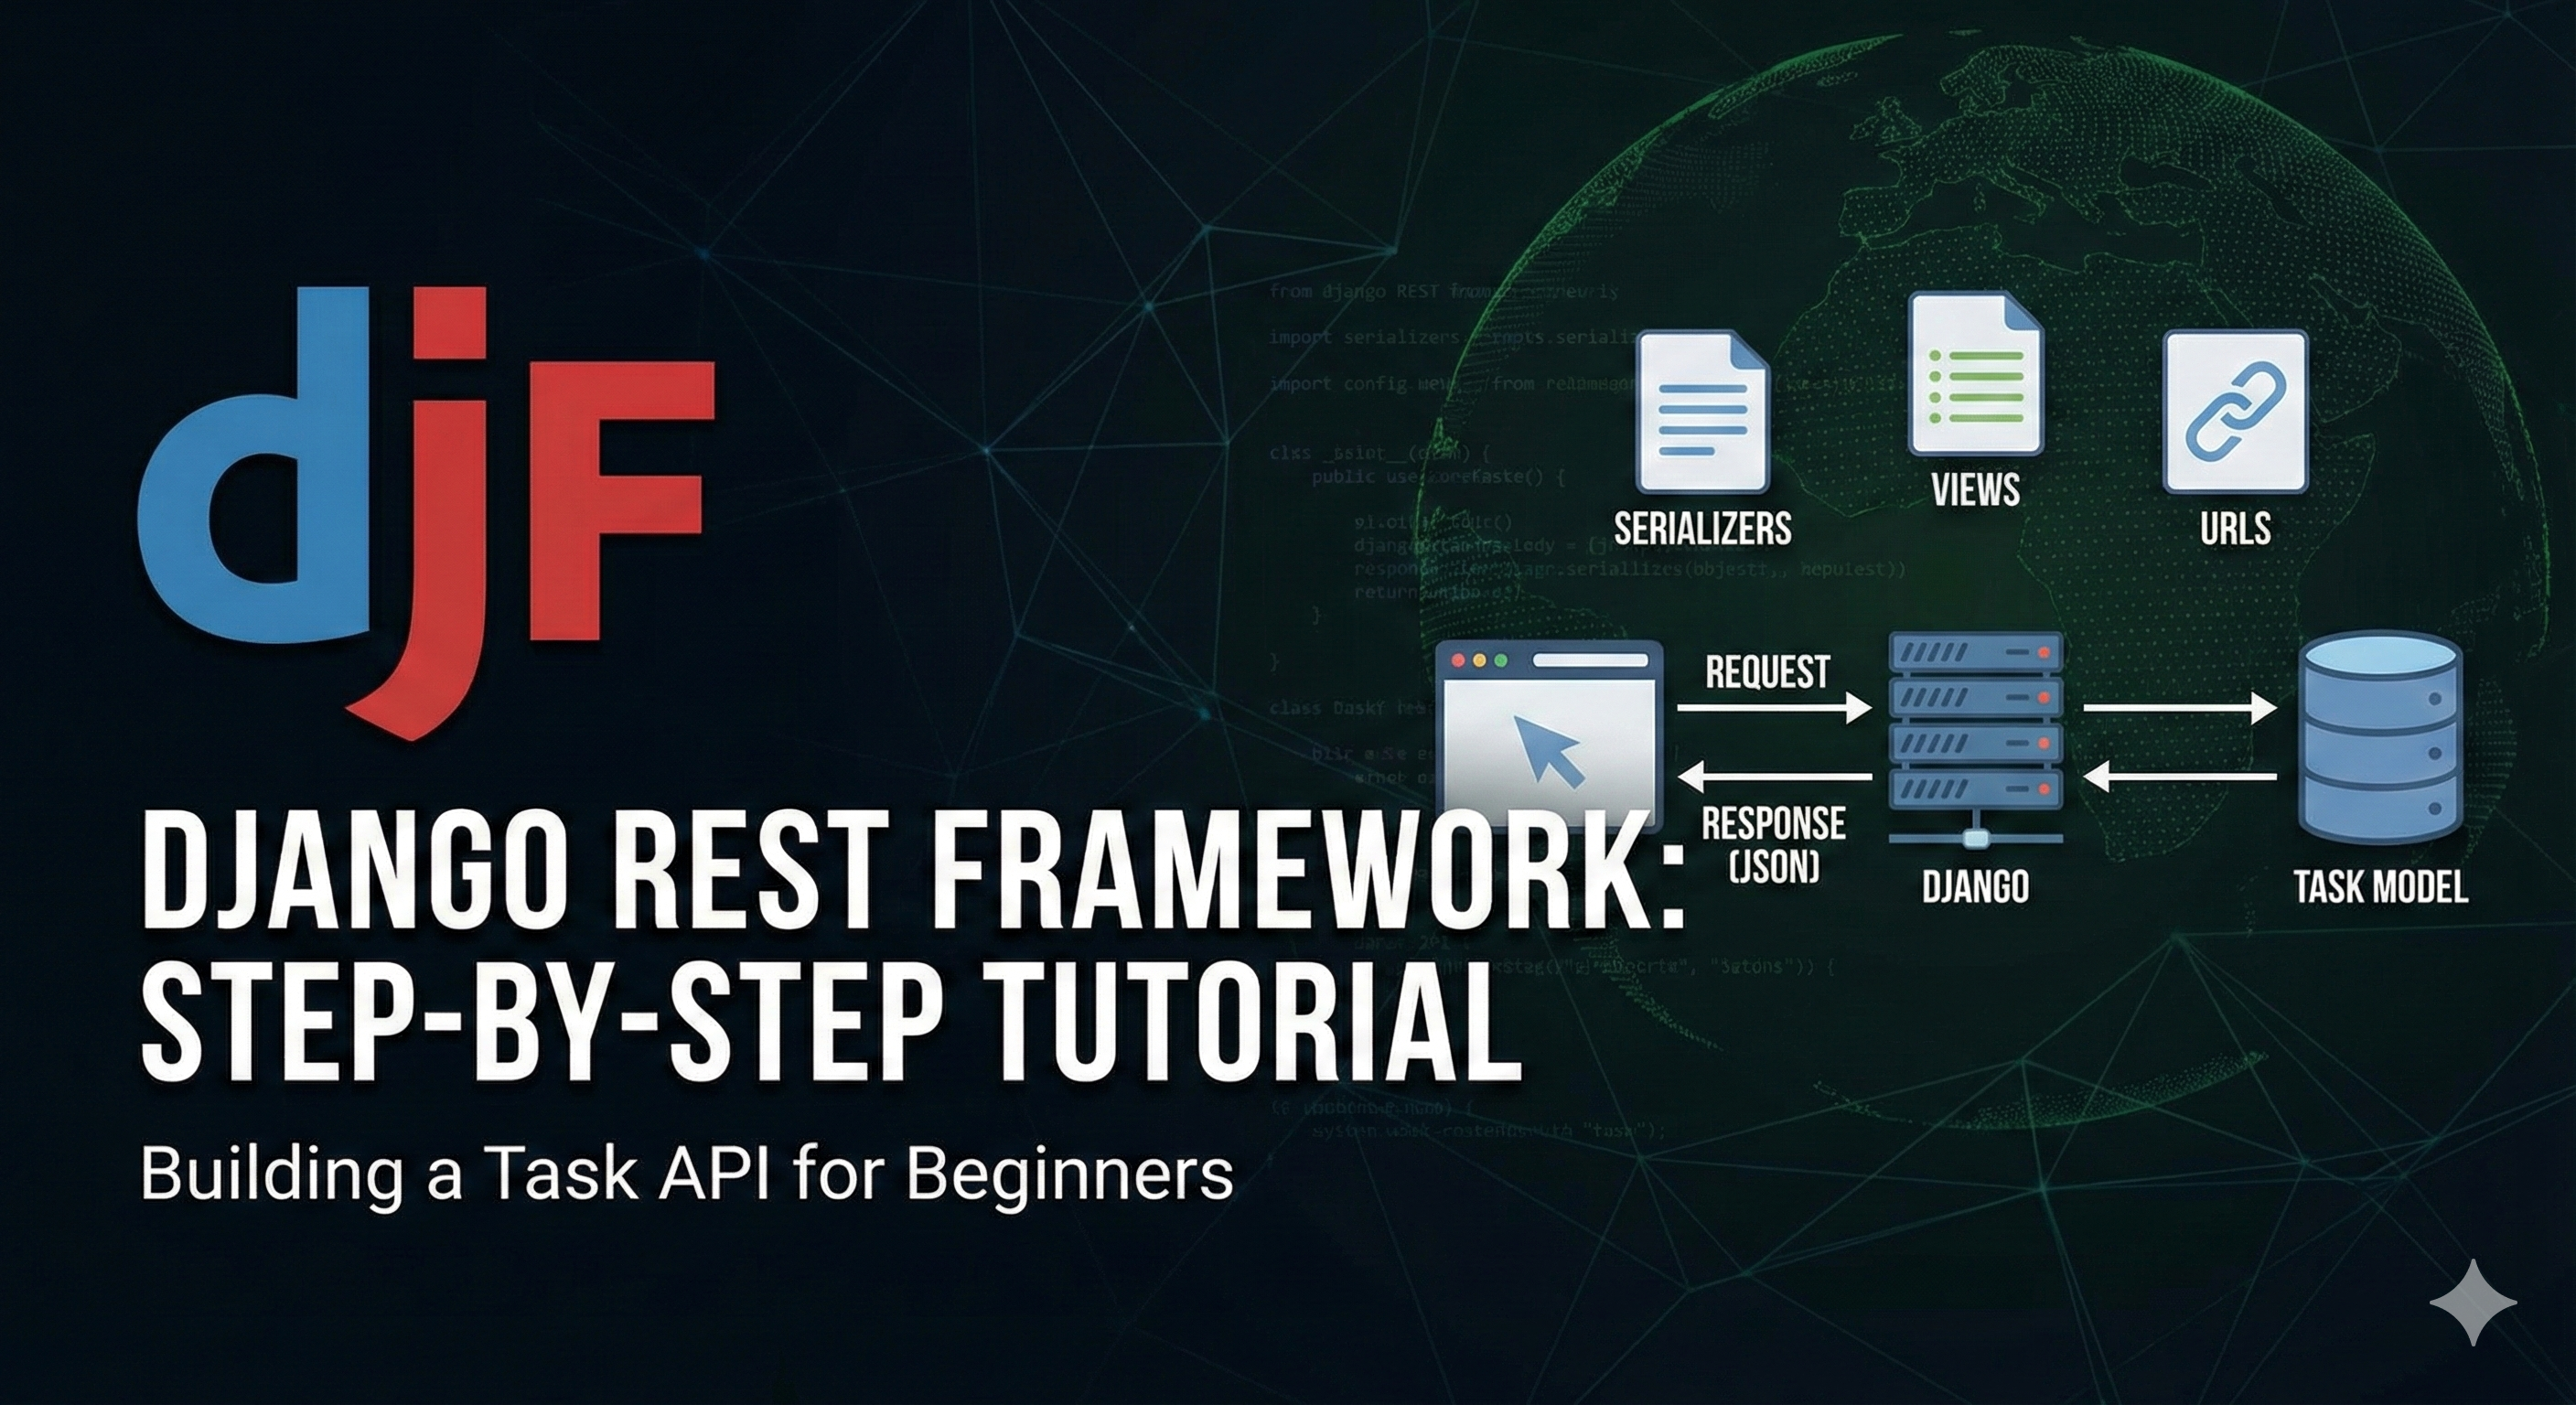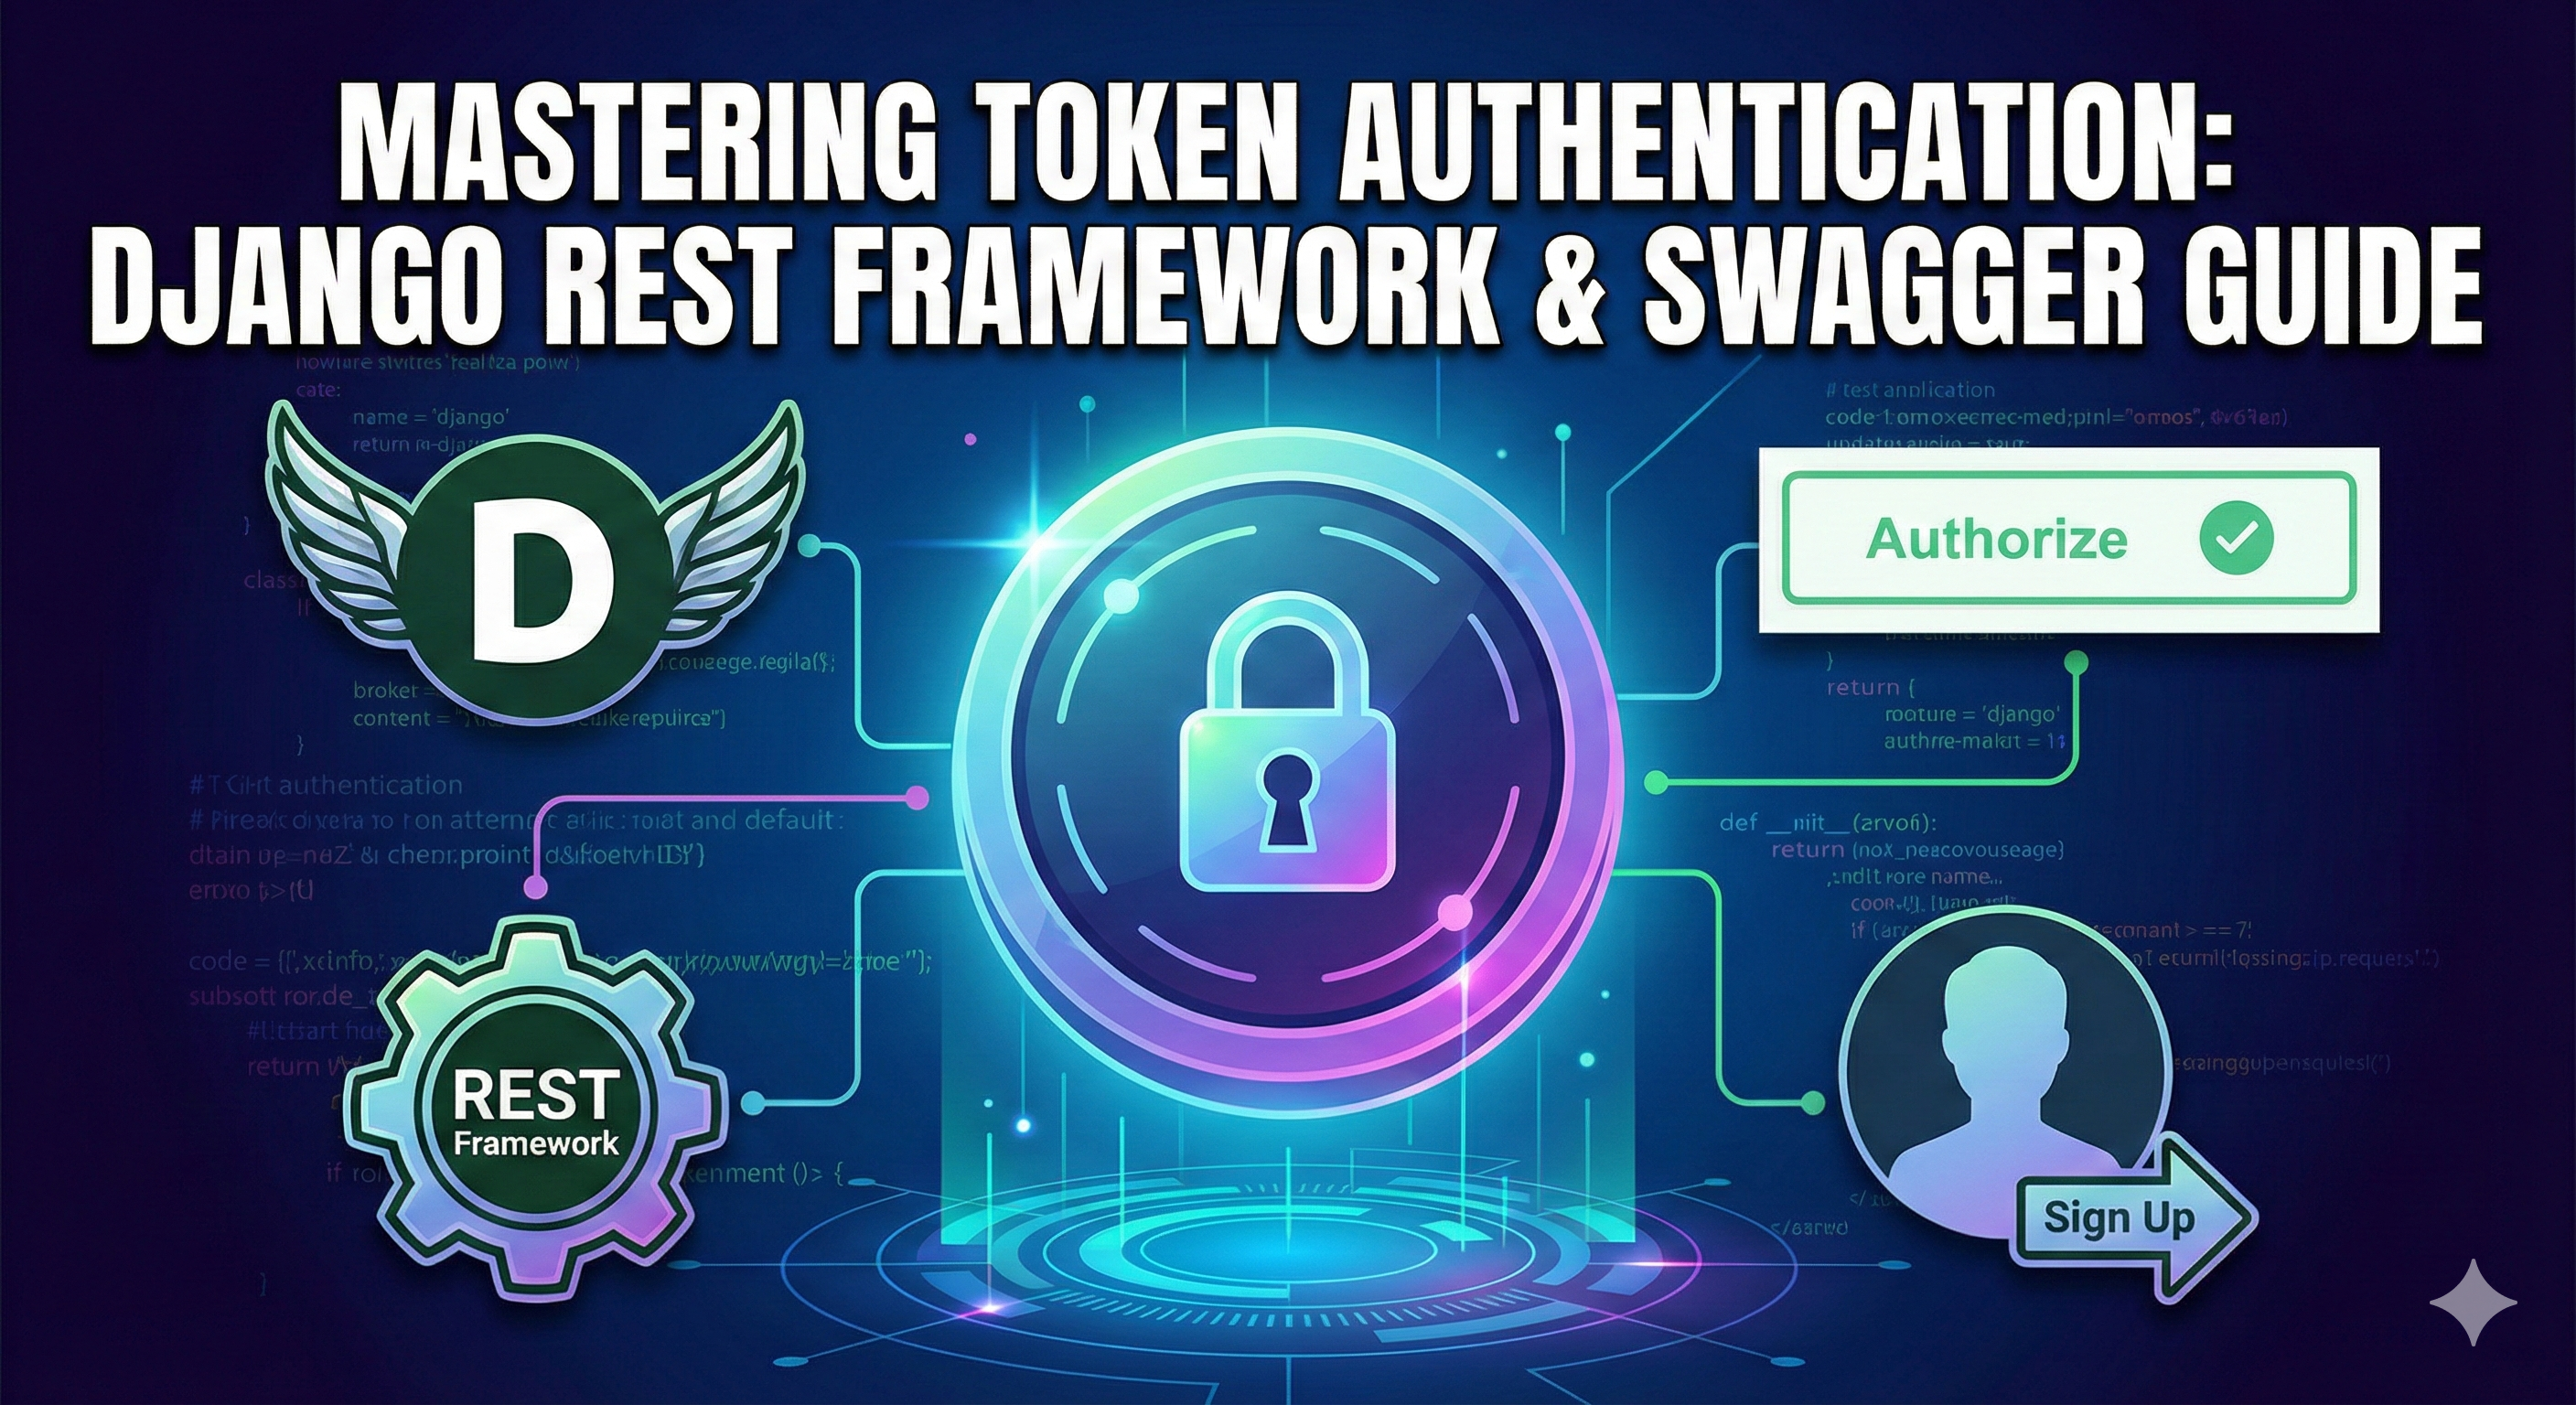
Mastering Token Authentication with Django Rest Framework & Swagger
Token-based authentication is a stateless security mechanism where users obtain a token by verifying their credentials and use this token to access protected resources. This guide covers the end-to-step implementation of Django's built-in Token Authentication, including a registration endpoint and Swagger UI configuration.
Prerequisites
Ensure you have the following packages installed:
-
djangorestframework -
drf-yasg
Step 1: Configure Django Settings
First, we need to enable the authtoken app and configure DRF to use it as the default authentication class.
In settings.py:
INSTALLED_APPS = [
    # ... existing apps
    'rest_framework',
    'rest_framework.authtoken',  # Add this line
    'drf_yasg',
]

REST_FRAMEWORK = {
    'DEFAULT_AUTHENTICATION_CLASSES': [
        'rest_framework.authentication.TokenAuthentication',
        # Keep SessionAuthentication if you want browsable API to work
        'rest_framework.authentication.SessionAuthentication',
    ],
    'DEFAULT_PERMISSION_CLASSES': [
        'rest_framework.permissions.IsAuthenticated',
    ],
}
Step 2: Apply Database Migrations
The authtoken app creates a database table to store user tokens. Run the migrations to create this table.
python manage.py migrate
Step 3: Create the User Registration Serializer
We need a serializer to handle user validation and creation. This serializer will automatically generate a token for the user upon successful sign-up.
In serializers.py:
from django.contrib.auth.models import User
from rest_framework import serializers
from rest_framework.authtoken.models import Token

class UserRegistrationSerializer(serializers.ModelSerializer):
    password = serializers.CharField(write_only=True)

    class Meta:
        model = User
        fields = ('username', 'email', 'password')

    def create(self, validated_data):
        # Create the user securely
        user = User.objects.create_user(
            username=validated_data['username'],
            email=validated_data.get('email', ''),
            password=validated_data['password']
        )

        # Create a token for the new user immediately
        Token.objects.create(user=user)

        return user
Step 4: Create the Sign-Up View
Now, create a view that uses the serializer. This view will return the new user's auth token in the response so they can log in immediately.
In views.py:
from rest_framework import status, generics
from rest_framework.response import Response
from rest_framework.permissions import AllowAny
from rest_framework.authtoken.models import Token
from .serializers import UserRegistrationSerializer

class UserRegistrationView(generics.CreateAPIView):
    serializer_class = UserRegistrationSerializer
    permission_classes = [AllowAny]  # Allow unauthenticated users to sign up

    def create(self, request, *args, **kwargs):
        serializer = self.get_serializer(data=request.data)
        serializer.is_valid(raise_exception=True)
        user = serializer.save()

        # Retrieve the token created in the serializer (or create one if missing)
        token, created = Token.objects.get_or_create(user=user)

        return Response({
            "user_id": user.pk,
            "username": user.username,
            "token": token.key,
            "message": "User created successfully."
        }, status=status.HTTP_201_CREATED)
In urls.py:
from django.urls import path
from .views import UserRegistrationView
from rest_framework.authtoken.views import obtain_auth_token

urlpatterns = [
    path('signup/', UserRegistrationView.as_view(), name='signup'),
    # Built-in DRF view to get a token for existing users (Login)
    path('login/', obtain_auth_token, name='api_token_auth'),
]
Step 5: Configure Swagger for Token Auth
By default, Swagger/OpenAPI doesn't know how to send the token headers. You must configure drf-yasg to add an "Authorize" button that accepts the token.
In settings.py:
Add the SWAGGER_SETTINGS dictionary. The key detail here is the SECURITY_DEFINITIONS.
SWAGGER_SETTINGS = {
    'SECURITY_DEFINITIONS': {
        'Token': {
            'type': 'apiKey',
            'name': 'Authorization',
            'in': 'header'
        }
    }
}
Step 6: Testing via Swagger UI
-
Navigate to your Swagger URL (e.g.,
/swagger/). -
Click the Authorize button at the top right.
-
In the value box, you must enter the token with the prefix
Token.-
Format:
Token <your_generated_token_key> -
Example:
Token 9944b09199c62bcf9418ad846dd0e4bbdfc6ee4b
-
-
Click Authorize and then Close.
-
Now, try executing an endpoint that requires authentication (lock icon). Swagger will automatically attach the header for you.